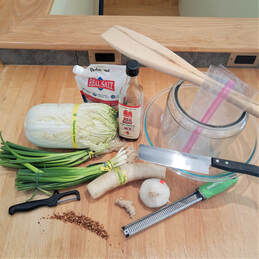
 One of my pet peeves when I am looking for a recipe, is to have to scroll through some wanna-be writer’s story of their life as it pertains to the particular recipe for which I’m looking. So, without more preamble, here is how I make Kimchi at home. Not that I do not have stories to tell, those will be published elsewhere. :) This my basic Kimchi starter recipe, you can riff on this nearly indiscriminately, but if this is your first time, stick close to this for starters. Provisions: The first picture depicts nearly everything that you will need to make excellent Kimchi… One head Napa Cabbage One large Daikon Radish 5-6 cloves Garlic 2 bunches Scallions (green onions) 1-2 T Salt 2 T Fish Sauce (Nam Pla) I prefer a non-sugared variety like Red Boat, but Tiparos, made in Thailand is also excellent, it just contains some sugar as most Thai preparations do. Ginger 1-2 inch medium “finger” Pepper flakes (traditional Korean calls for gochugaru, a Korean pepper. I’m fond of the Espelette pepper, indigenous to the Basque region of Spain and usually have it in my kitchen, so that’s what I use.) Equipment: Sharp knife Microplane (or willingness to dice finely with your sharp knife) One gallon glass or ceramic container One large bowl (for mixing) One gallon Zip Loc or other watertight bag Wooden Soup Paddle (Or anything else that you can use to bruise and punch down the Kimchi mixture.) Vegetable peeler (A Mandoline slicer is handier here but many don’t have one of those in their kitchen) Procedure: See pics below to see stages... I wash and then coarsely chop the cabbage. Add the chopped cabbage to the bowl and add salt. I use 2 Tablespoons, but I like things salty, you might start with less. Using your hands as a fist, or a stout wooden paddle or spoon, massage the cabbage with salt, and “punch” it down with the paddle. You are trying to “bruise” the cabbage here, which, along with the salt, will get it to start “sweating”. This is essential to the process. While the bruised cabbage sits for a while building liquid, peel and coarsely chop onions, slice daikon using veg peeler or mandoline slicer, mince garlic and mince or microplane ginger (no need to peel ginger). Add minced garlic, sliced daikon, chopped onions, minced ginger, and pepper flakes (to taste) to the cabbage and mix thoroughly. Add fish sauce and mix thoroughly again. Transfer to upright gallon container. Place bag on top of mixture inside container and partially fill with tap water. Push down the sides of the water-filled bag so that it is contact with the juicy mixture all the way around the container. This type of fermentation is an anaerobic process so the idea here is to make sure that the “juice” completely covers the mixture. The bag of water seals against the sides of the container to further prevent oxygenation of the fermenting mixture. Many traditional recipes call for a plate with a rock on top of the mixture, which accomplishes the same thing, but in that a lot of the juice is still exposed to the air this way, scum can form on top of the juice. This isn’t necessarily a bad thing, part of the traditional process, but the water-bag technique prevents scum build up. Cover with towels, or put in a dark pantry and wait. In about a day, you should see some bubbles forming in the mixture and migrating to the top…this is the fermentation process! I usually start tasting after about three days…soooo good! Sometime between 3 days and a week or so, whenever you love the flavor, remove the bag, decant into quart jars and put in fridge. The Kimchi will stay good for quite some time in the fridge. Try a hot-dog in a bun with mayo and Kimchi! You can thank me later!! :)  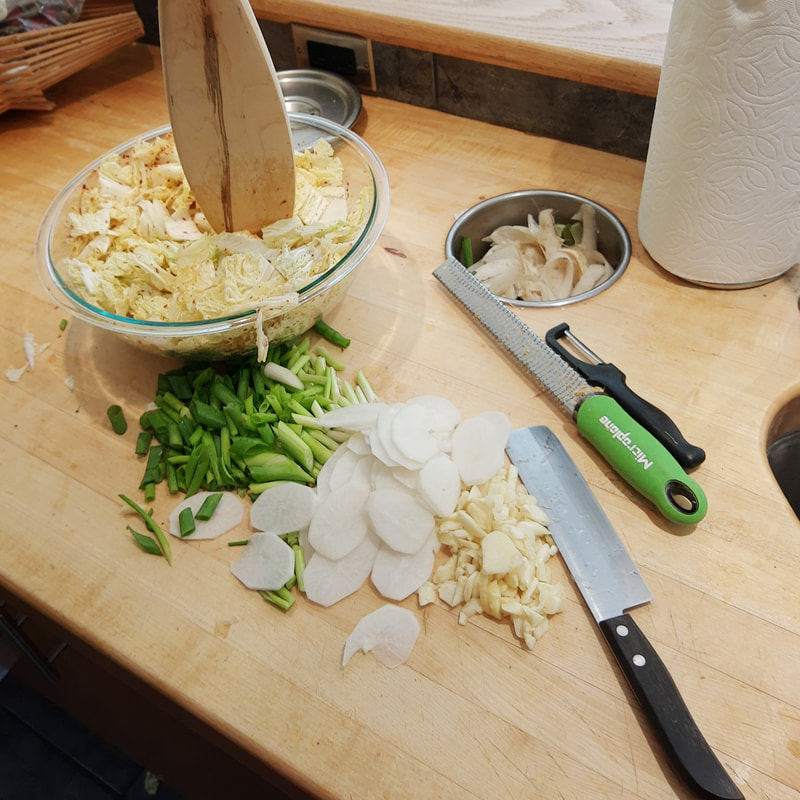  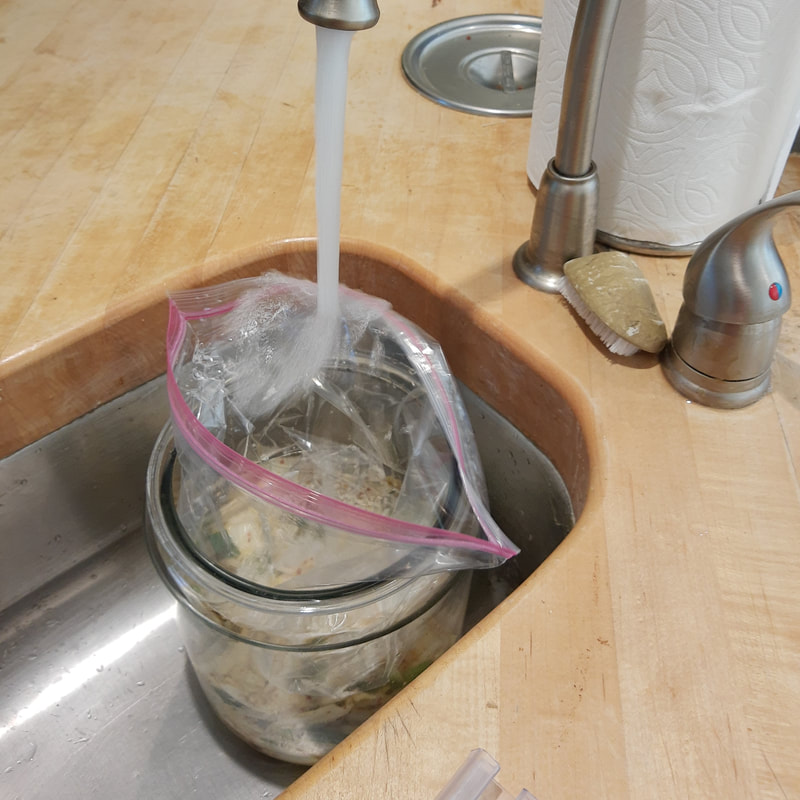 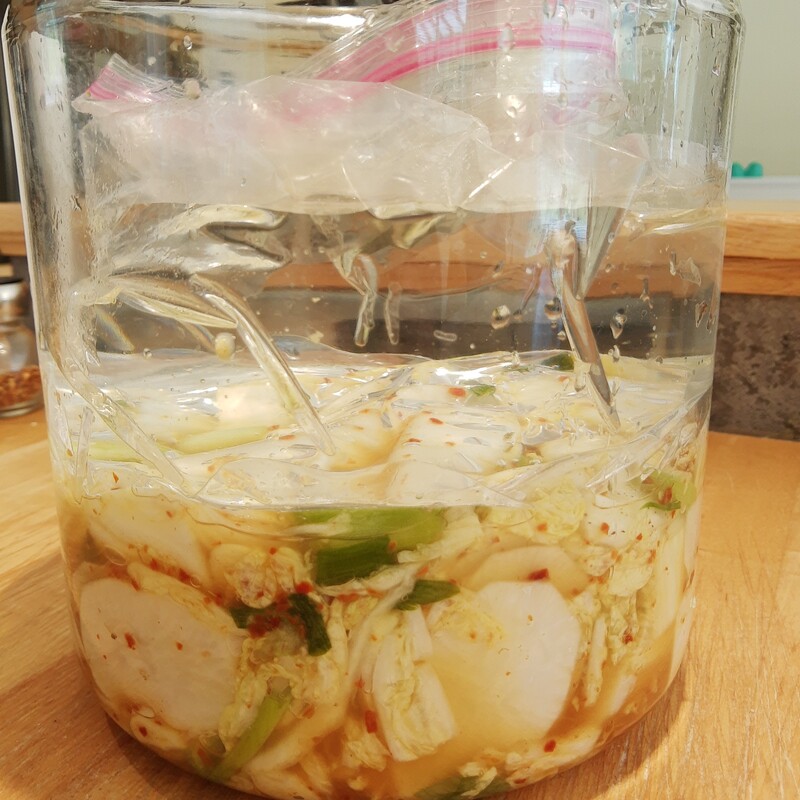  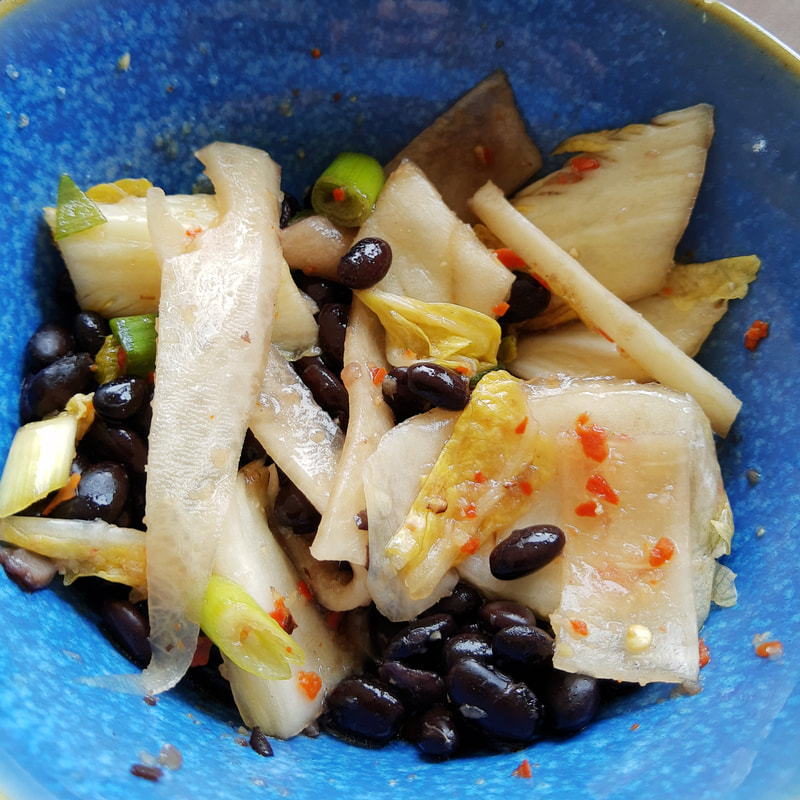
1 Comment
Bonnie Olson
7/19/2020 06:50:08 pm
Thanks for sharing! I really want to try this! Leave a Reply. |

Author
|
 RSS Feed